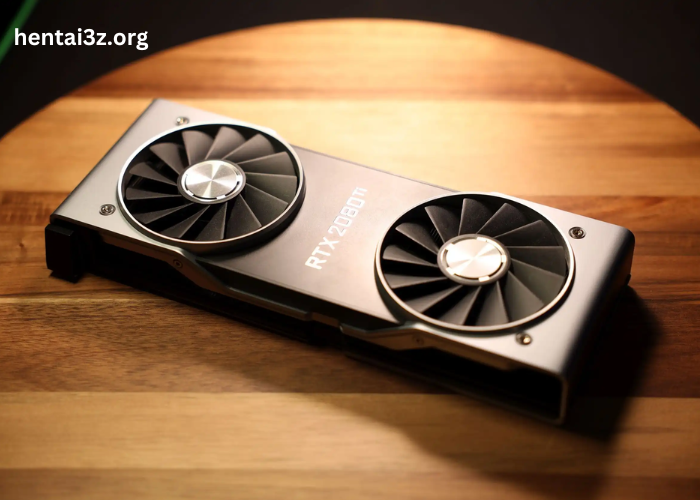
Overclocking your graphics card can give you better gaming performance. And if you adjust its settings, you can even increase the speed and enjoy the gameplay so much more. But, you have to do this all in a safe way to avoid damaging your hardware. Just be sure to monitor the temperature and stability of the GPU slots to prevent any damage.
Key Overclocking Basics
Overclocking means increasing your graphics card’s core clock speeds to make it run faster. But keep in mind, every card has different limits. Overclocking also generates more heat, so managing it properly is essential. Follow the steps below to ensure safe results.
Getting Started with Overclocking Your Graphics Card
Step 1: Research and Prepare
Before anything else, find out about your graphics card model. Check online guides, forums, or the manufacturer’s website for information on safe overclocking limits, temperatures, and voltages.
Make sure your system can cool effectively. Good airflow, quality thermal paste, and a solid cooling solution are important to handle the extra heat.
Step 2: Use Overclocking Software
To overclock safely, use overclocking software from your graphics card manufacturer. You can also use trusted third-party developers.
These tools let you easily change settings like core clock speed, memory clock speed, voltage, and fan speed. Increase the core clock speed a little at a time. Also, check its stability after each change.
Step 3: Test for Stability
After adjusting the core clock speed, it’s important to ensure stability. Use stress-testing tools like FurMark and 3DMark to push your graphics card. These tests will help check if it can handle the new speeds without crashing or showing errors.
Keep an eye on the temperature with software like HWMonitor or GPU-Z.
If the temperature gets too high or if stability issues arise, lower the clock speed until everything is stable again.
Step 4: Adjust Memory Clock Gradually
Once you have a stable core clock speed, start overclocking the memory clock. Make small adjustments to the memory clock speed, just like you did with the core clock. Remember to test for stability and monitor temperatures throughout this process.
Step 5: Fix Voltage and Power Limits
After stabilizing your core and memory clock speeds, you might want to tweak the voltage and power limits of your graphics card. Raising the voltage can help maintain stability at higher speeds, but it also increases heat. Be careful, as too much voltage can harm your card.
Most overclocking programs let you change voltage and power settings. Increase the voltage slowly and watch the temperatures. If temperatures rise too much or you experience instability, go back to the last safe voltage setting.
Step 6: Monitor and Maintain Long-Term
After making sure that the overclock is stable, you have to start monitoring the graphics card’s performance and temperatures. This is especially true during regular use. If you see problems or instability, adjust your overclock settings or return to default settings.
Step 7: Optimize Performance
After achieving a stable overclock, enhance your graphics card settings for better performance. Adjust fan speeds to keep temperatures low while minimizing noise. Higher fan speeds cool better but may be louder, so find a comfortable balance.
Step 8: Backup Settings
Always back up your stable overclock settings once you find a good configuration. Most overclocking software lets you save profiles for easy loading later.
Step 9: Understand the Risks
To reduce risks, ensure your system has good cooling and airflow. Consider using quality thermal paste and aftermarket cooling solutions. Keep your system clean to avoid dust buildup that can hinder cooling.


